

Marketing Preferences
Marketing preferences for Applicants and Contacts can be set within the Consent tab on the respective records. If an applicant or contact has opted out of email, this will prevent them from receiving mailshots. This will not stop you sending communications via that route on an individual basis, e.g. a direct email just to the applicant/contact.
Emailing from a Search/Record Group
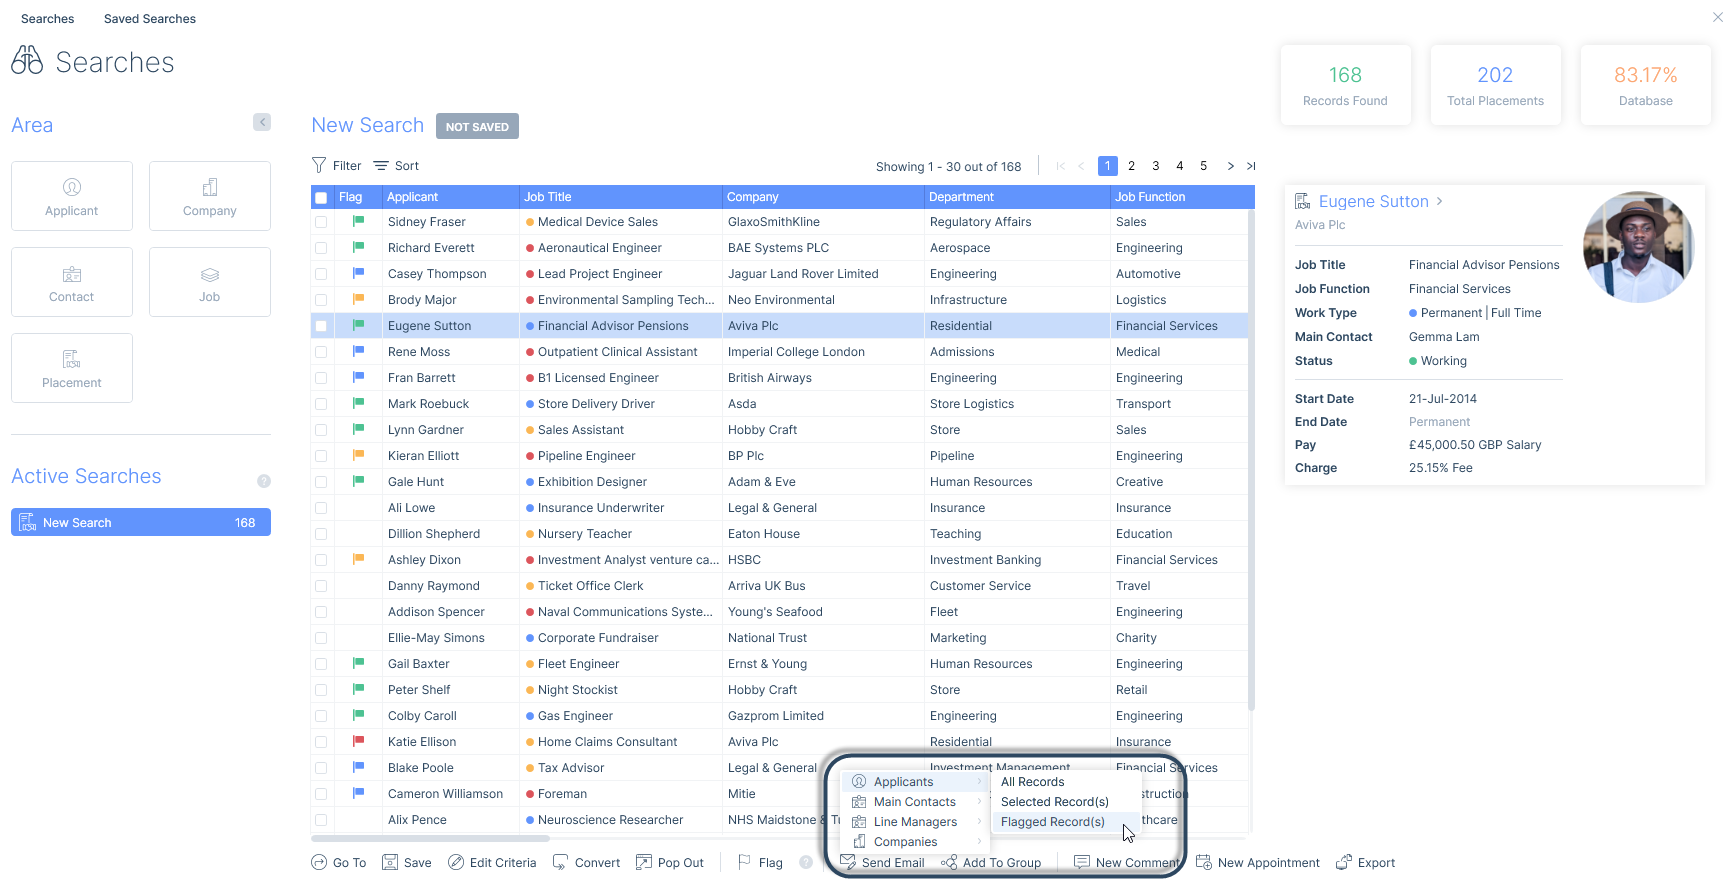
Once you have the search results or group you wish to email, you need to select the Send Email button at the foot of the window, the type of recipient that will show will depend on the type of search or group you are on (i.e. an applicant search gives you the option to send to Applicants and a placement group gives you the options to send to either Applicants, Main Contacts, Line Managers or Companies).
You are able to send to all records, selected record(s) or flagged record(s), please see the Managing Search Results article for more information. When you have chosen your preferred selection the email window will open.
Alternatively if you have a large number of results/recipients you wish to email, you may find the functionality Batching Search Results useful. This will divide your search results out into multiple groups from which you can bulk email a smaller number of recipients. Please see the Batching Search Results article.
Sending With Merge Fields
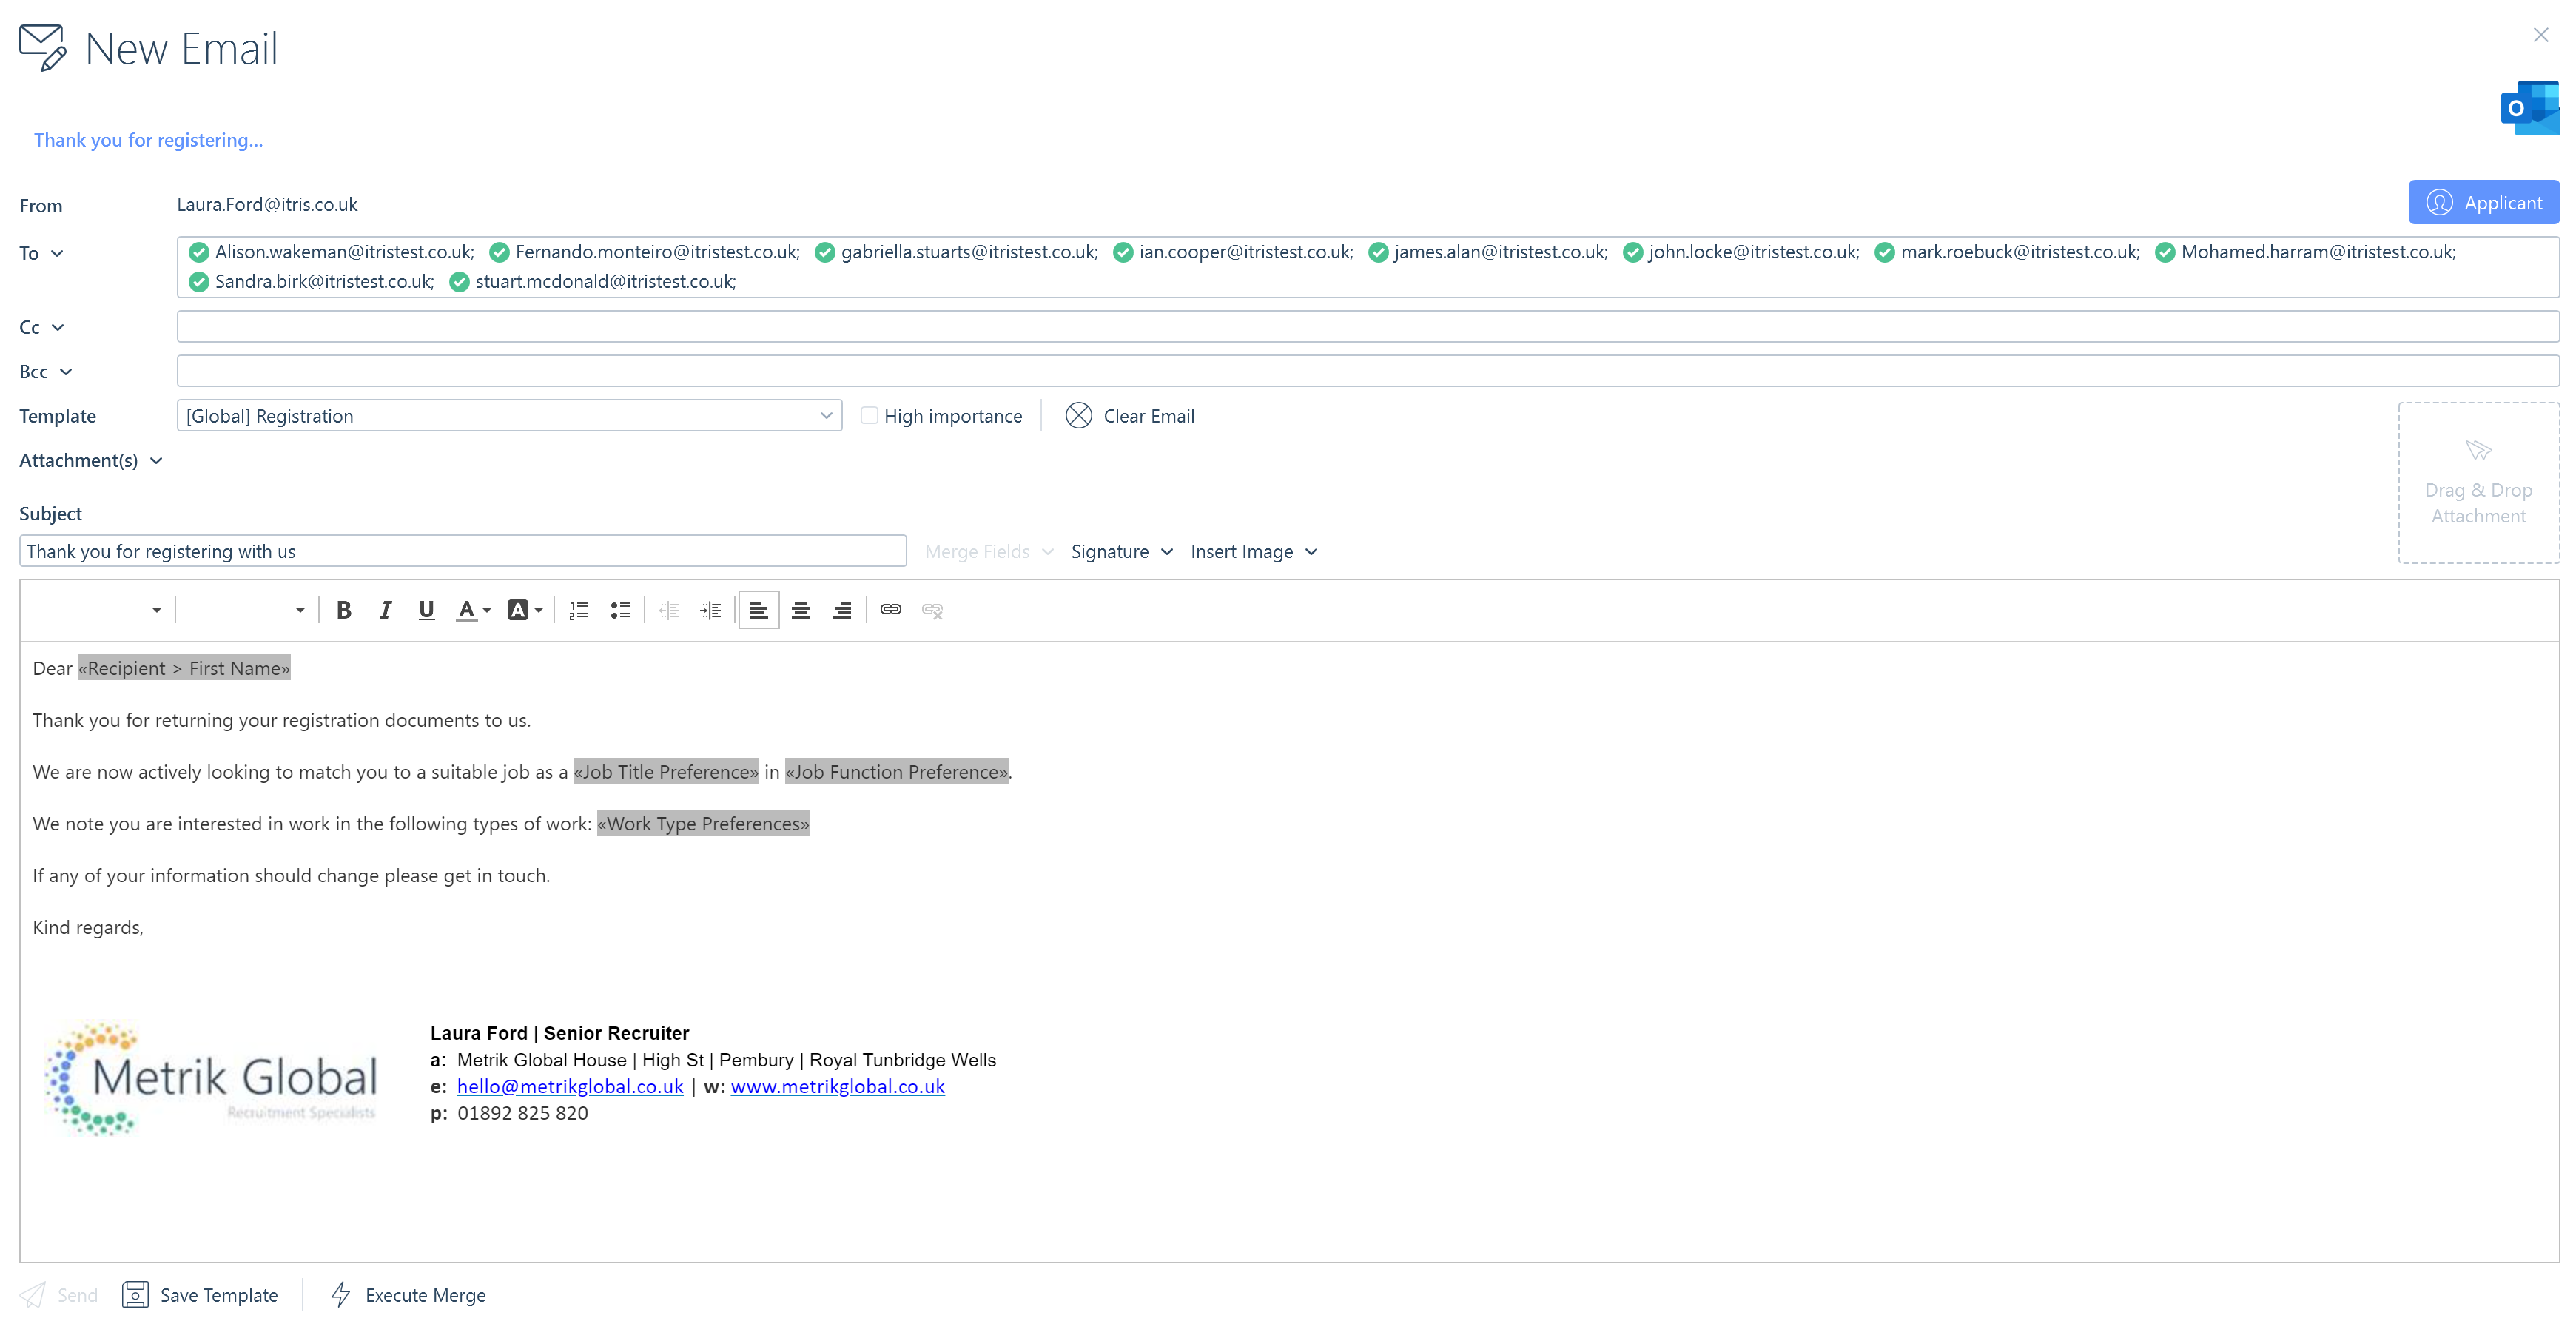
The merge fields available to add into an email or email template will depend on the record type you are creating the mass email for.
For example, if you are sending an email from a placement search or group, you will have merge fields available for not only the placement record (start date, pay etc) but also the associated records (applicant, company, contact, job), giving you an abundance of values to include.
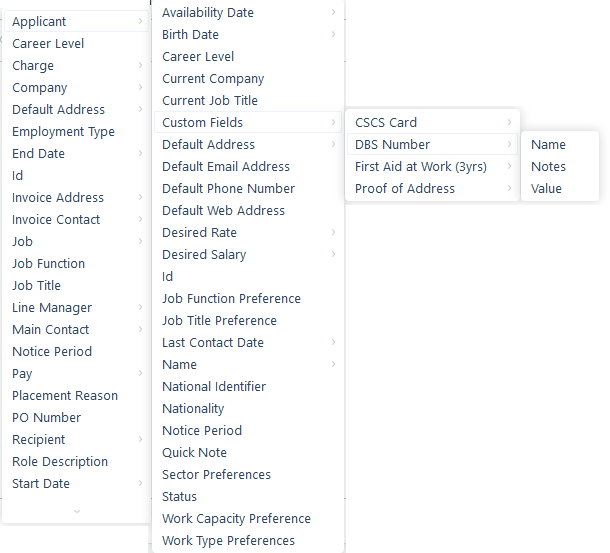
The merge field list alphabetically displays the Main Field Sets available for that record type and then the (multi-level) subsets as relevant. Any merge field that has subsets will have an arrow icon next to it allowing you to view and add merge fields from the subset lists.
In the example below, we see the merge fields for a placement, and the subsets for the applicant record, including Custom Fields, the available Custom Fields and finally the fields associated with the Custom Field.
Once you have added the merge fields, you will need to execute the merge before you are able to send the mass email, it will then create individual emails to all the recipients. This way you are not exposing the recipients’ data to each other.
Please note, when sending a mass email from a job/placement search or group, the emails will be broken into individual email tabs to each recipient automatically rather than each recipient starting off in the ‘To’ field of one email tab. The result being that rather than a mail merge being possible, the content of each email will need to be completed and sent individually. However, merge fields and email templates are still available within these email contexts. The reason for this slightly different method via the job/placement email context is due to merge field complexities making a mail merge unviable.
You can set your preferences to automatically execute merge when an email template is selected, see the itris Preferences article for further information.
Using Email Templates
When sending similar emails on a regular basis the creation of either personal or global email templates, can save you time as they remove the need to keep constructing the same email each time manually. Once created you can then select one of these templates to use in the mass email. See the Personal Email Templates and Templates | Email Templates (Global) articles for more information.
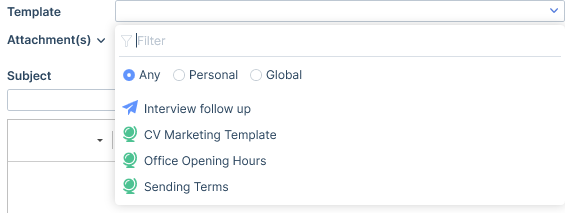
The list of available templates you see in the template drop-down list will be relevant to the record type you are in. For example, if you chose to send to selected main contacts you will be able to see email templates relevant for contacts.
Once the template is loaded you can treat the email as per any normal email, for example, editing, attaching documents, executing merges etc.
If the wrong email template was selected, you can simply choose another from the list, or use the Clear Email option.

Sending Without Merge Fields
Using merge fields is not compulsory when mass emailing, although we believe using email templates can save you so much time as they pull data already entered into itris rather than having to cross-reference and enter it in manually.
When sending a mass email click the Separate Email button located at the bottom of the email prior to clicking on the Send button. This will ensure the email addresses are not exposed to all recipients and send them individually.
Please note, if the Send button is accidentally clicked on before the Separate Emails button, itris will warn you that the email will be sent as a single email to all recipients rather than separate emails, at which point you can choose to proceed and expose the recipients to each other or cancel the action.

Emailing from a Job Record
There may be occasions where you wish to email applicants that have been submitted to a job. As an example you may want to email job details to shortlisted applicants or inform applicants that a job they have been previously submitted to has been closed.
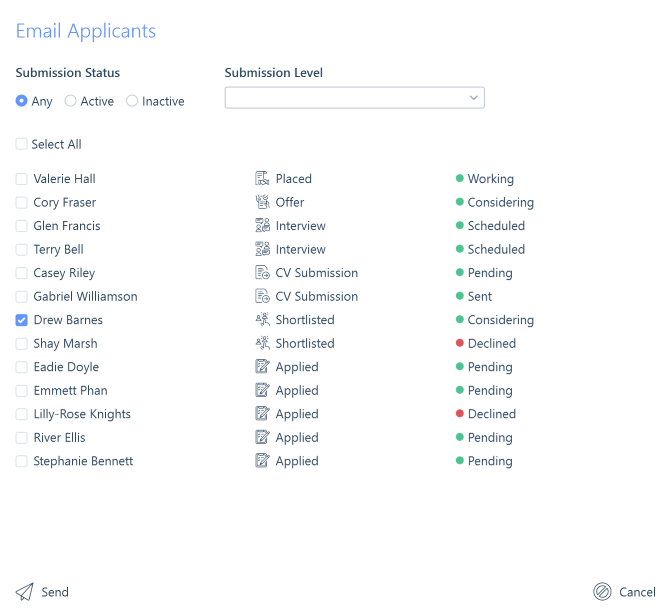
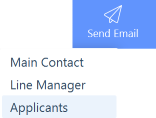
In order to email applicants from a job you must ensure they have been added to any one of the levels in the submissions area. You will then be given the option from the Send Email button in the Action Bar of the job record.
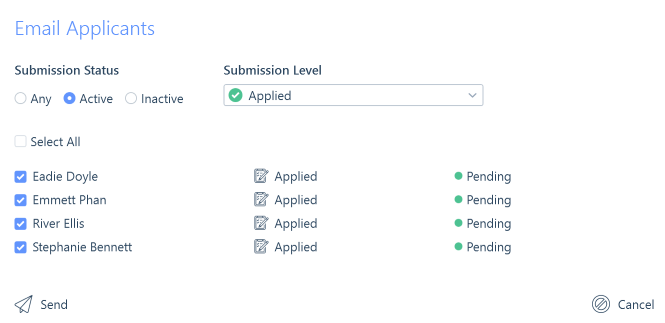
Filter
You have the ability to filter by the applicants submission status and/or their submission level.
Emailing 100 or more recipients
When the number of recipients initially added to your email is equal to or greater than 100, instead of each recipient being listed in the To box you will see the count of the number of recipients and the CC and BCC fields are hidden.

You can still apply your email templates or simply write your email. You can then choose to either Execute Merge or Separate Emails as appropriate before sending the email. When you send the email they will be processed in batches of 100 through to your outlook and you will see the progress in your status bar at the foot of the itris screen.
In the IMU you can set an attachment threshold so that emails sent to over the stated number of recipients don’t attach to the records. Please see the Settings | General Settings article.
Using BCC for Bulk Emails
When sending bulk emails to less than 100 recipients where you don’t want to send separate emails (either through using the merge or separate emails functionality) you can move all of the recipients into the BCC field and add yourself as the main recipient in the To field.
The easiest way to move multiple recipients is to click into the To field and click Ctrl A on your keyboard to select all the recipients, then drag and drop them to the BCC field. When adding an email address to the To field as the main recipient you can either click in the field and type in the email address or click the To icon to choose from itris and user records (see the New Email Form article).