

In this guide you will find seven steps to follow to ensure itris is set and ready for them to start using.
Step One - Licence Refresh
In order for itris to register you have purchased your additional licence(s) they will need to be refreshed within the itris Management Utility (IMU).
This can be carried out in just a few clicks! Head over to the itris Management Utility (IMU), System area and finally, Licences tab.
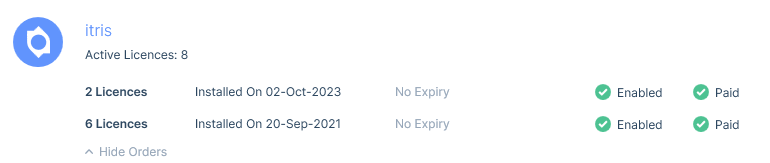
The Licensing list will show you all of the licences (both active and expired) you currently have installed on your database. Providing you have spoken with your Account Executive and purchased additional licences, you can refresh within this tab to update them.
See the System | Licences article for more information.
Step Two - Creating a New User
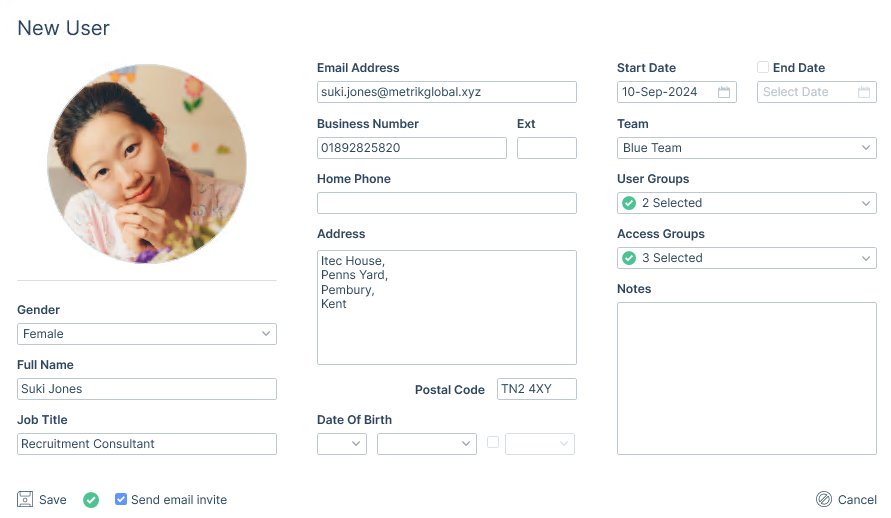
Before a user can log into itris they will need both an itris user account and an itris Id account.
For details on how to create an manage the itris user account, including how to invite an itris user to create an itris Id account please see the article User Management | Users, and information on the itris Id account can be found in the article itris Id Portal.
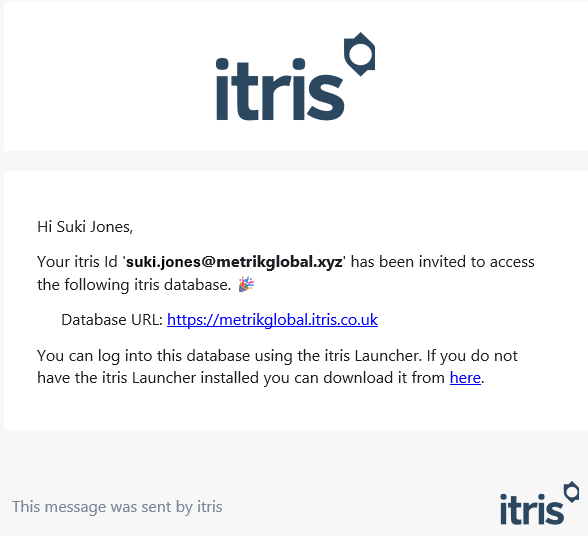
On the email the user receives inviting them to create an itris Id account will be an URL link to the database they have been invited to. This URL contains all the information (such as database name, host and port details) needed to make the cloud connection to itris.
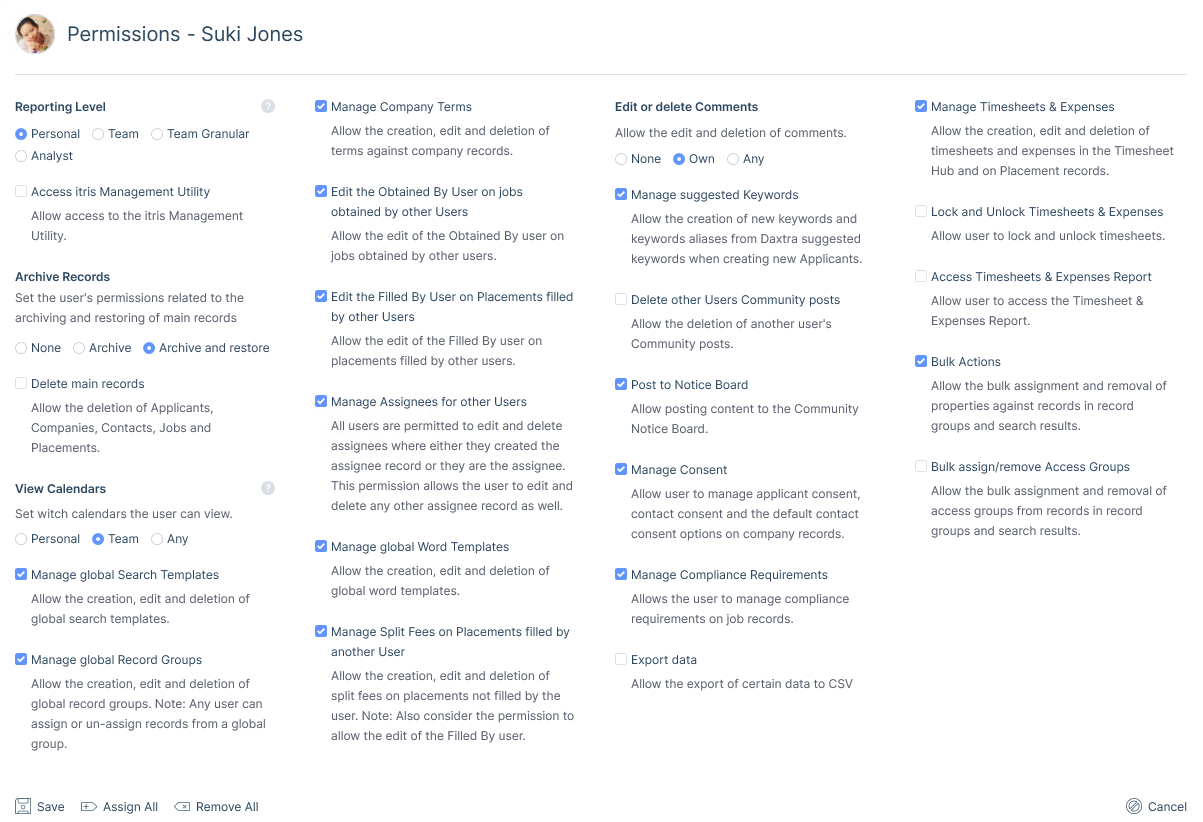
The user will be assigned with default permissions, for further information on these please see the User Management | Permissions article.
Step Three - Logging In
The following information is only compatible for Windows computers. If you are using a Mac or are unsure please let the Service Desk know via email [email protected] and they will help with getting you set up. If you experience any other technical issues along the way while using this article, please notify your internal itris administrator who will liaise with the itris Service Desk for a resolution.
Installation
To obtain the latest copy of the itris 9 installer please follow this link: https://help.itris.co.uk/download/. Alternatively, this can be accessed from within your itris Preferences > General tab, or for those with access, the itris Management Utility > System > itris Updates tab. See the article System | itris Updates & Installers for more information.

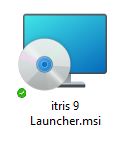
Upon clicking the Save itris 9 Launcher icon you will be asked to save the itris 9 Launcher.msi. Save this to a location you can easily access as this is the installer that will install the latest launcher. If you are downloading for multiple users ensure you save this in a location they can all access.
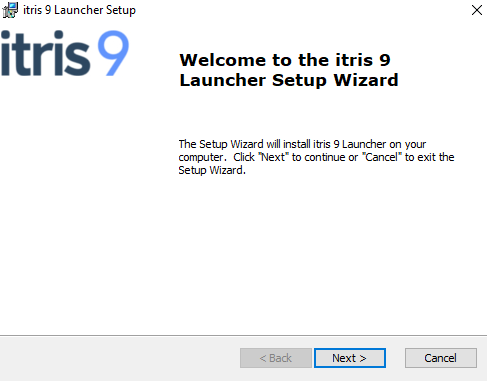
Double click on the .msi installer to run it, and follow the prompts to complete.
This will create the required launcher files in C:\Program Files (x86)\Itec Systems Limited\itris 9 Launcher. If you receive a prompt for Admin Credentials during this step, this will be due to your permission levels external to itris and will need to be resolved by your IT Support.
Within this folder there is a itris9Launcher.exe which each user will require a shortcut to.
itris Launcher
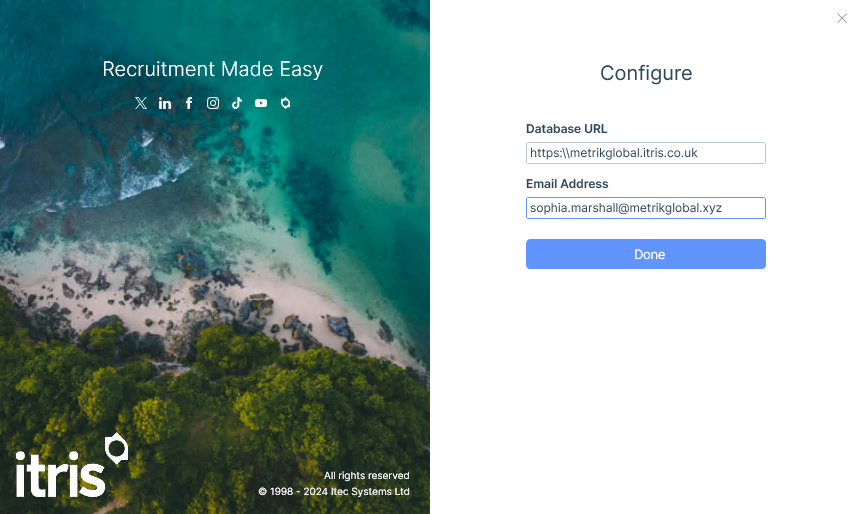
Once installed, a shortcut will be created on their desktop which will open the itris 9 Launcher. Once launched, users will need to click the Configure Logins icon to enter the database details.
Here the Database URL and email address are required, see Step Two above for how to get the URL. itris will use this information to talk to the itris Id Portal in the background to authenticate the user.
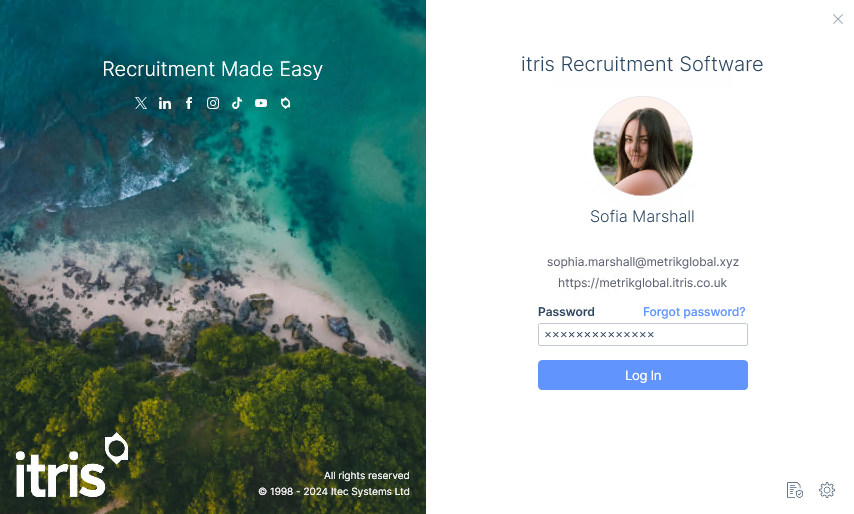
On the log in screen the users name, email address and the database URL entered will be displayed allowing the user to enter their password to log in. Resetting forgotten passwords can also be started from here.
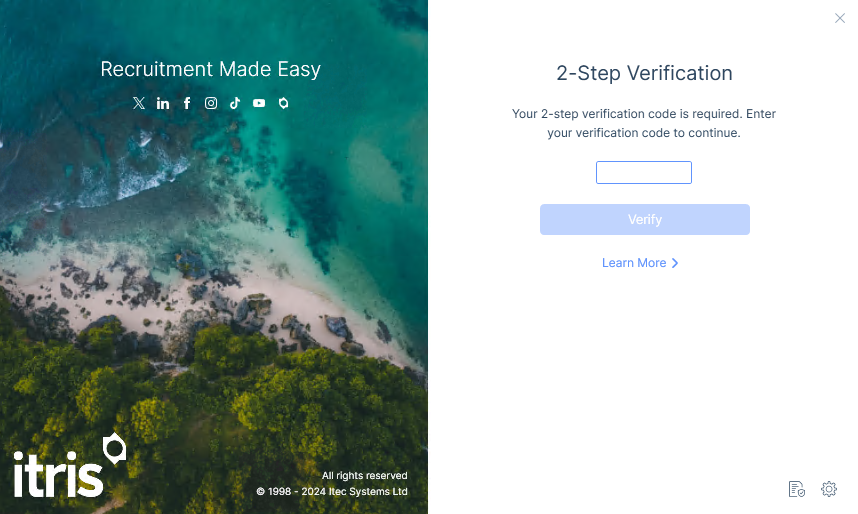
2-Step Verification
If 2-Step verification is set up, users will be required to enter the verification code generated by their selected verification app. Please see the itris Id Portal article for more details.
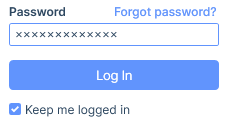
Keep me logged in
After your initial log in, and if this has been permitted in the itris Management Utility settings (see the article Settings | General Settings) you will have the option to stay logged in going forward. This means you won’t need to add your password each time, you will just need to choose Log In.
Please note, this will also bypass 2-step verification.
Step Four - Screen Display Settings
itris 9 was designed with the following display screen settings in mind as the best way to optimise the layout and appearance. These settings will ensure you view itris as intended, and don’t miss out on functionality.
Display screen settings are managed in Windows Settings.

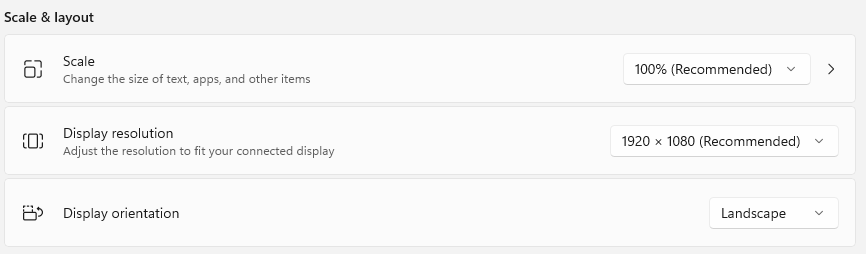
These are the recommended settings
- Scaling | 100%
- Display Resolution | 1920 x 1080
- Display Orientation | Landscape
If your settings are below the above recommended settings and your device supports the above, a High Scaling Tip will be displayed on the right of the Navigation bar.

Step Five - Graphic Settings
itris 9 utilises graphical settings which are controlled by the Windows operating system. If you have multiple graphics cards in your PC Windows will often set the most basic level of graphics controller against applications. You may wish to choose which one is used to run itris (i.e. you may see an improvement by running itris on the most powerful graphics card), if so there are a few steps to follow:
Graphics settings are managed in Windows Settings.
Here, under the section Related Settings you have the option for Graphics.
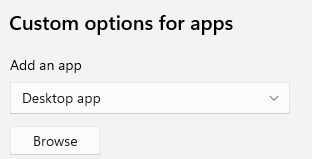
The first step is to add itris to the list of Apps shown here. Ensure that the Custom Options for apps are set to Desktop App and click on Browse.
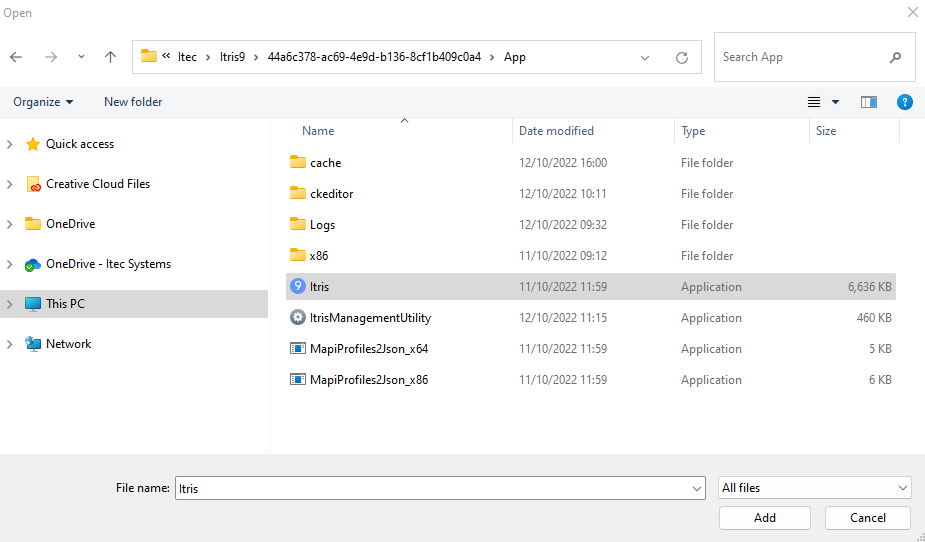
This will open the File Explorer for you to navigate to find the itris program ‘itris.exe’.
However, to save you browsing for the right location you can copy the folder path in here.
To find the folder path follow these steps.
- Make sure itris is running
- Open your Task Manager (Ctrl+Shift+Escape on your keyboard)
- Right click on itris and choose ‘Open file location
- Copy the path route

Now that you have the have the path to that folder copied, return to the File Explorer window opened earlier and paste in the path.
You should see the itris Application icon (this is the itris.exe). Select that and click Add.
itris will now show on the list of Apps in Settings, you use the filter to find it if needed.
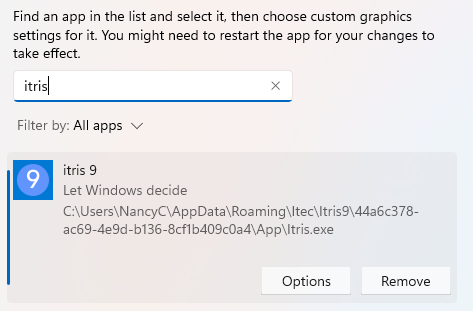
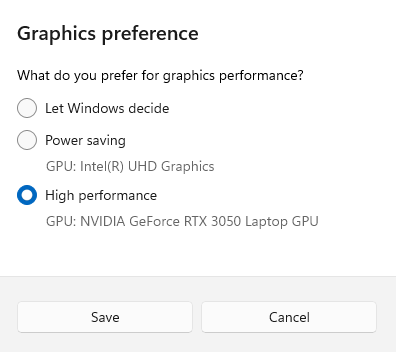
The Options button will then give you access to set and save the Graphics preference for itris to High Performance.
If you are logged in to itris you will need to log out and back in again for the change to take effect.
Step Six - Outlook Add-in Installation and Setup
Once logged into itris, you will need to configure the user’s Outlook.
itris 9 utilises an Outlook plugin to integrate with the email functionality and installation is carried out from within the itris application. To begin the setup you need to go to your new user’s itris Preferences located in the top right of itris 9 and open Email. See the itris Preferences article for further information.
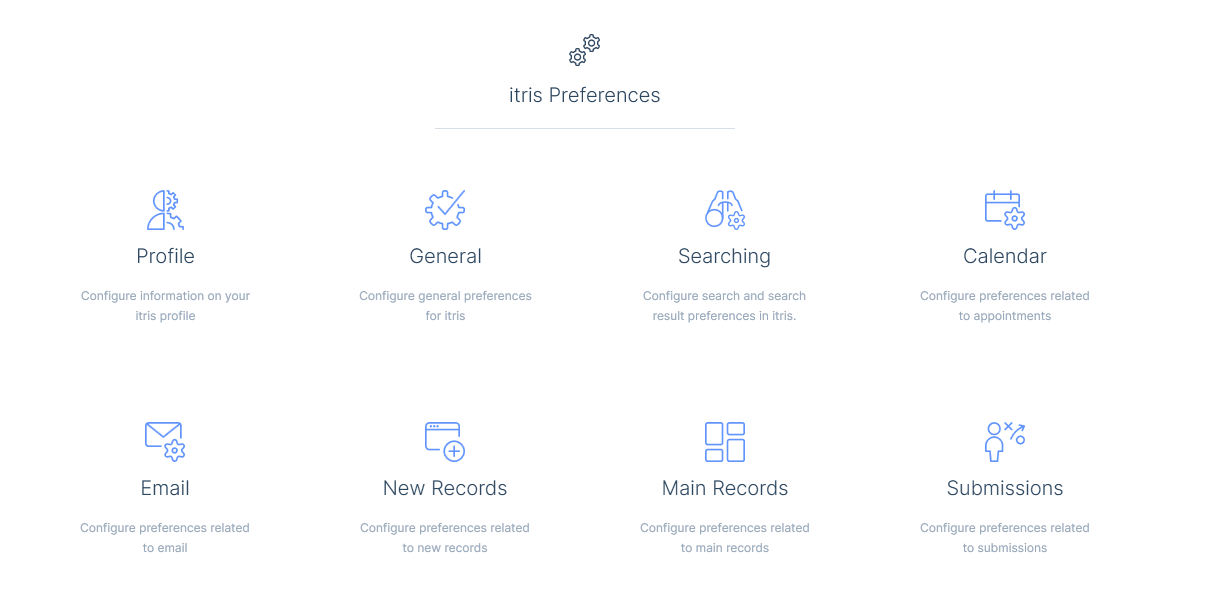
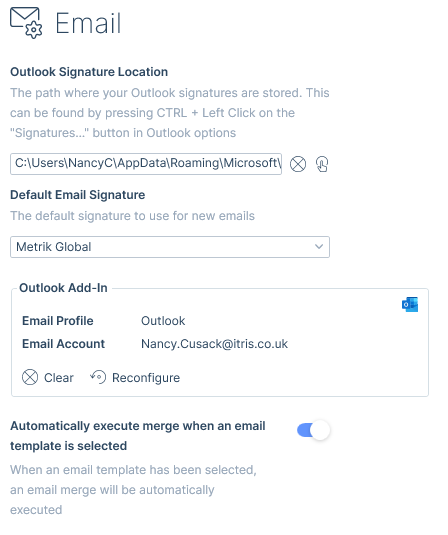
There are various settings here including letting itris know where to look for your Outlook email signatures, setting a default email signature and Configuring the Outlook Add-In.
Outlook Signature Location - this is where a users Outlook signatures are saved, and means itris will know where to look for them.
Default Email Signature - once itris knows where to find your email signatures you can set a default to be applied to your emails.
Outlook Add-In - this is were you can link itris and Outlook. When Configuring select the correct Profile and Account before hitting Save.
Note. Each time a new mailbox installation is selected, you will be required to accept an additional window within Outlook for the installation within Office before the itris application gains access. This will require restarting Outlook so the Outlook add-in can connect to the relevant mailbox. Ensure you click Install on this window (and check behind the Outlook screen in case its hidden).

If the Outlook Add-In is not running a warning symbol is displayed in the status bar.

Additionally, there will be a warning pill in the Navigation bar (to the left of the Record Find Control).

Step Seven - itris Knowledgebase
Ensure your new user is aware of the Knowledgebase as there is an abundance of articles and videos to help them navigate around itris 9. If your new user has explored the Knowledgebase and questions arise, they can contact our Service Desk via email [email protected] and one of our Service Desk Analysts will happily assist them.
