

Introduction
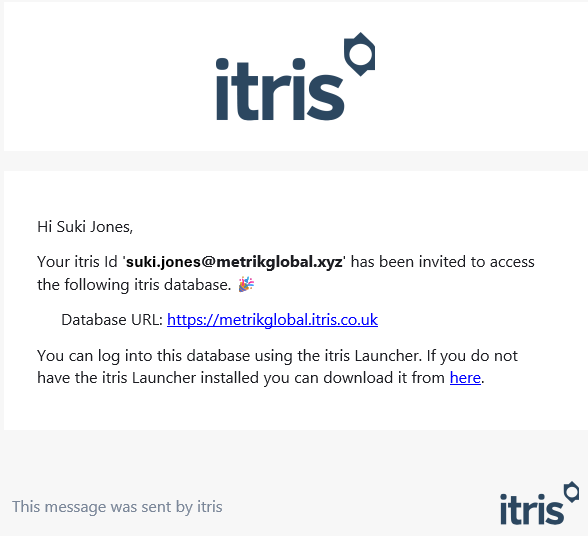
Before you can log in to itris you will require both an itris user account and an itris Id account. Your internal database administrator will be responsible for creating your itris user account, in turn they will generate an email invite for you to create your itris Id account, this invite will contain the database URL required to log in. Please see the article itris Id Portal for more details on your itris Id account.
The itris Launcher is an application that logs you into the itris database. It is a separate application and therefore if you pin the itris Launcher to your taskbar, once itris is open you will have two icons for itris in your taskbar, one for the Launcher & one for itris itself. Additionally, the itris Launcher will handle all itris 9 updates.
If you have multiple screens, when the launcher is opened it will open on the screen your mouse is currently on. The same will happen for itris when it loads after log in.
Logging In
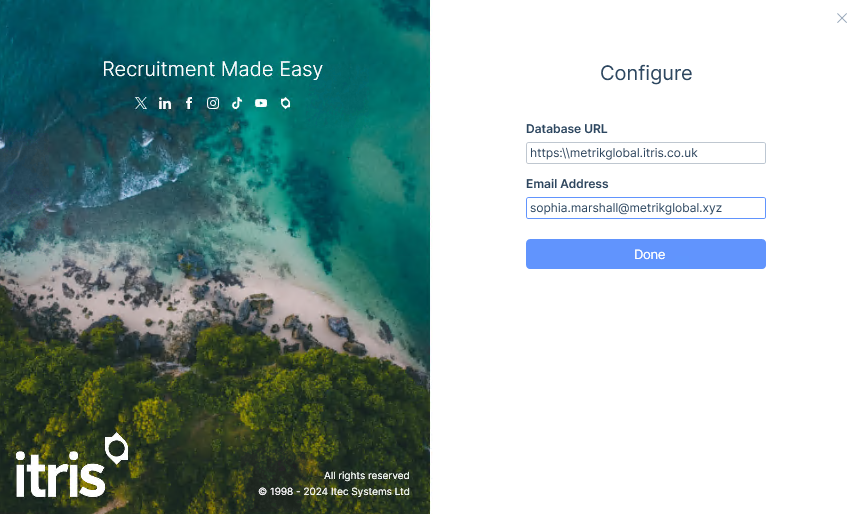
When itris is installed on a new machine for the first time, and you have not yet logged in, launching the itris login box will prompt you to first configure your database connection. You can also click the icon to load the configuration page.

Here the Database URL and email address are required.
The URL contains all the information (such as database name, host and port details) needed to make the cloud connection to your itris.
itris will use this information to talk to the itris Id Portal in the background to authenticate your details.
For new users the URL will be on the invite received for creating your itris Id account, please see the itris Id Portal article for more details on setting up your itris Id account.
On the log in screen the users name, email address and the database URL entered will be displayed allowing you to enter your password to log in. Resetting forgotten passwords can also be started from here.
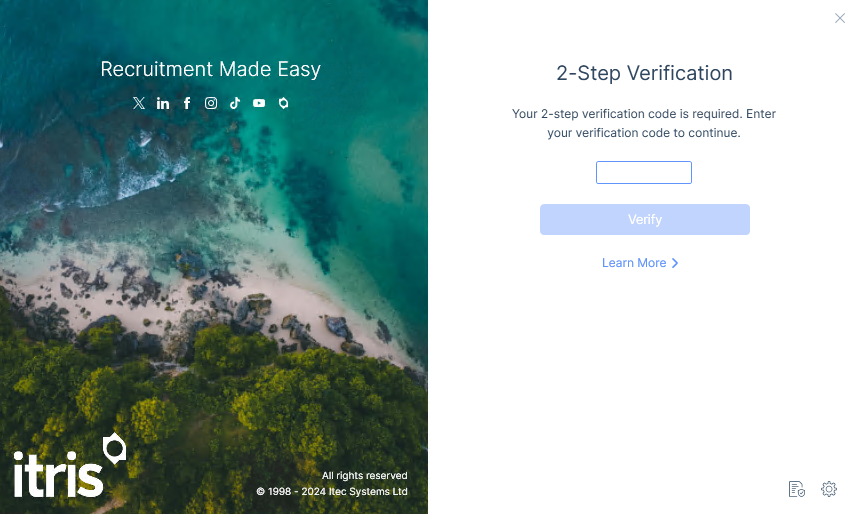
2-Step Verification
If 2-Step verification is set up, you will be required to enter the verification code generated by your selected verification app. Please see the itris Id Portal article for more details.
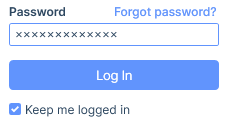
Keep me logged in
After your initial log in, and if this has been permitted in the itris Management Utility settings (see the article Settings | General Settings) you will have the option to stay logged in going forward. This means you won’t need to add your password each time, you will just need to choose Log In.
Please note, this will also bypass 2-step verification.
Saving the itris Launcher
There may be occasion you wish to save a new version of the itris Launcher, this can be started from within your itris Preferences > General tab, or for those with access, the itris Management Utility > System > itris Updates tab. See the article System | itris Updates & Installers for more information.

Upon clicking the Save itris 9 Launcher icon you will be asked to save the itris 9 Launcher.msi. Save this to a location you can easily access as this is the installer that will install the latest launcher. If you are downloading for multiple users ensure you save this in a location they can all access.
Double click on the .msi installer to run it, and follow the prompts to complete.
This will create the required launcher files in C:\Program Files (x86)\Itec Systems Limited\itris 9 Launcher. If you receive a prompt for Admin Credentials during this step, this will be due to your permission levels external to itris and will need to be resolved by your IT Support.
Within this folder there is a itris9Launcher.exe which each user will require a shortcut to.